Ever feel like your walls are begging for a makeover, craving a touch of elegance and functionality? Imagine your space as a blank canvas, waiting to be transformed into a symphony of design and utility. That's where DIY floating wood shelves step in - the illusionists of interior decor, defying gravity and redefining your living space.
Overview: Crafting the Illusion
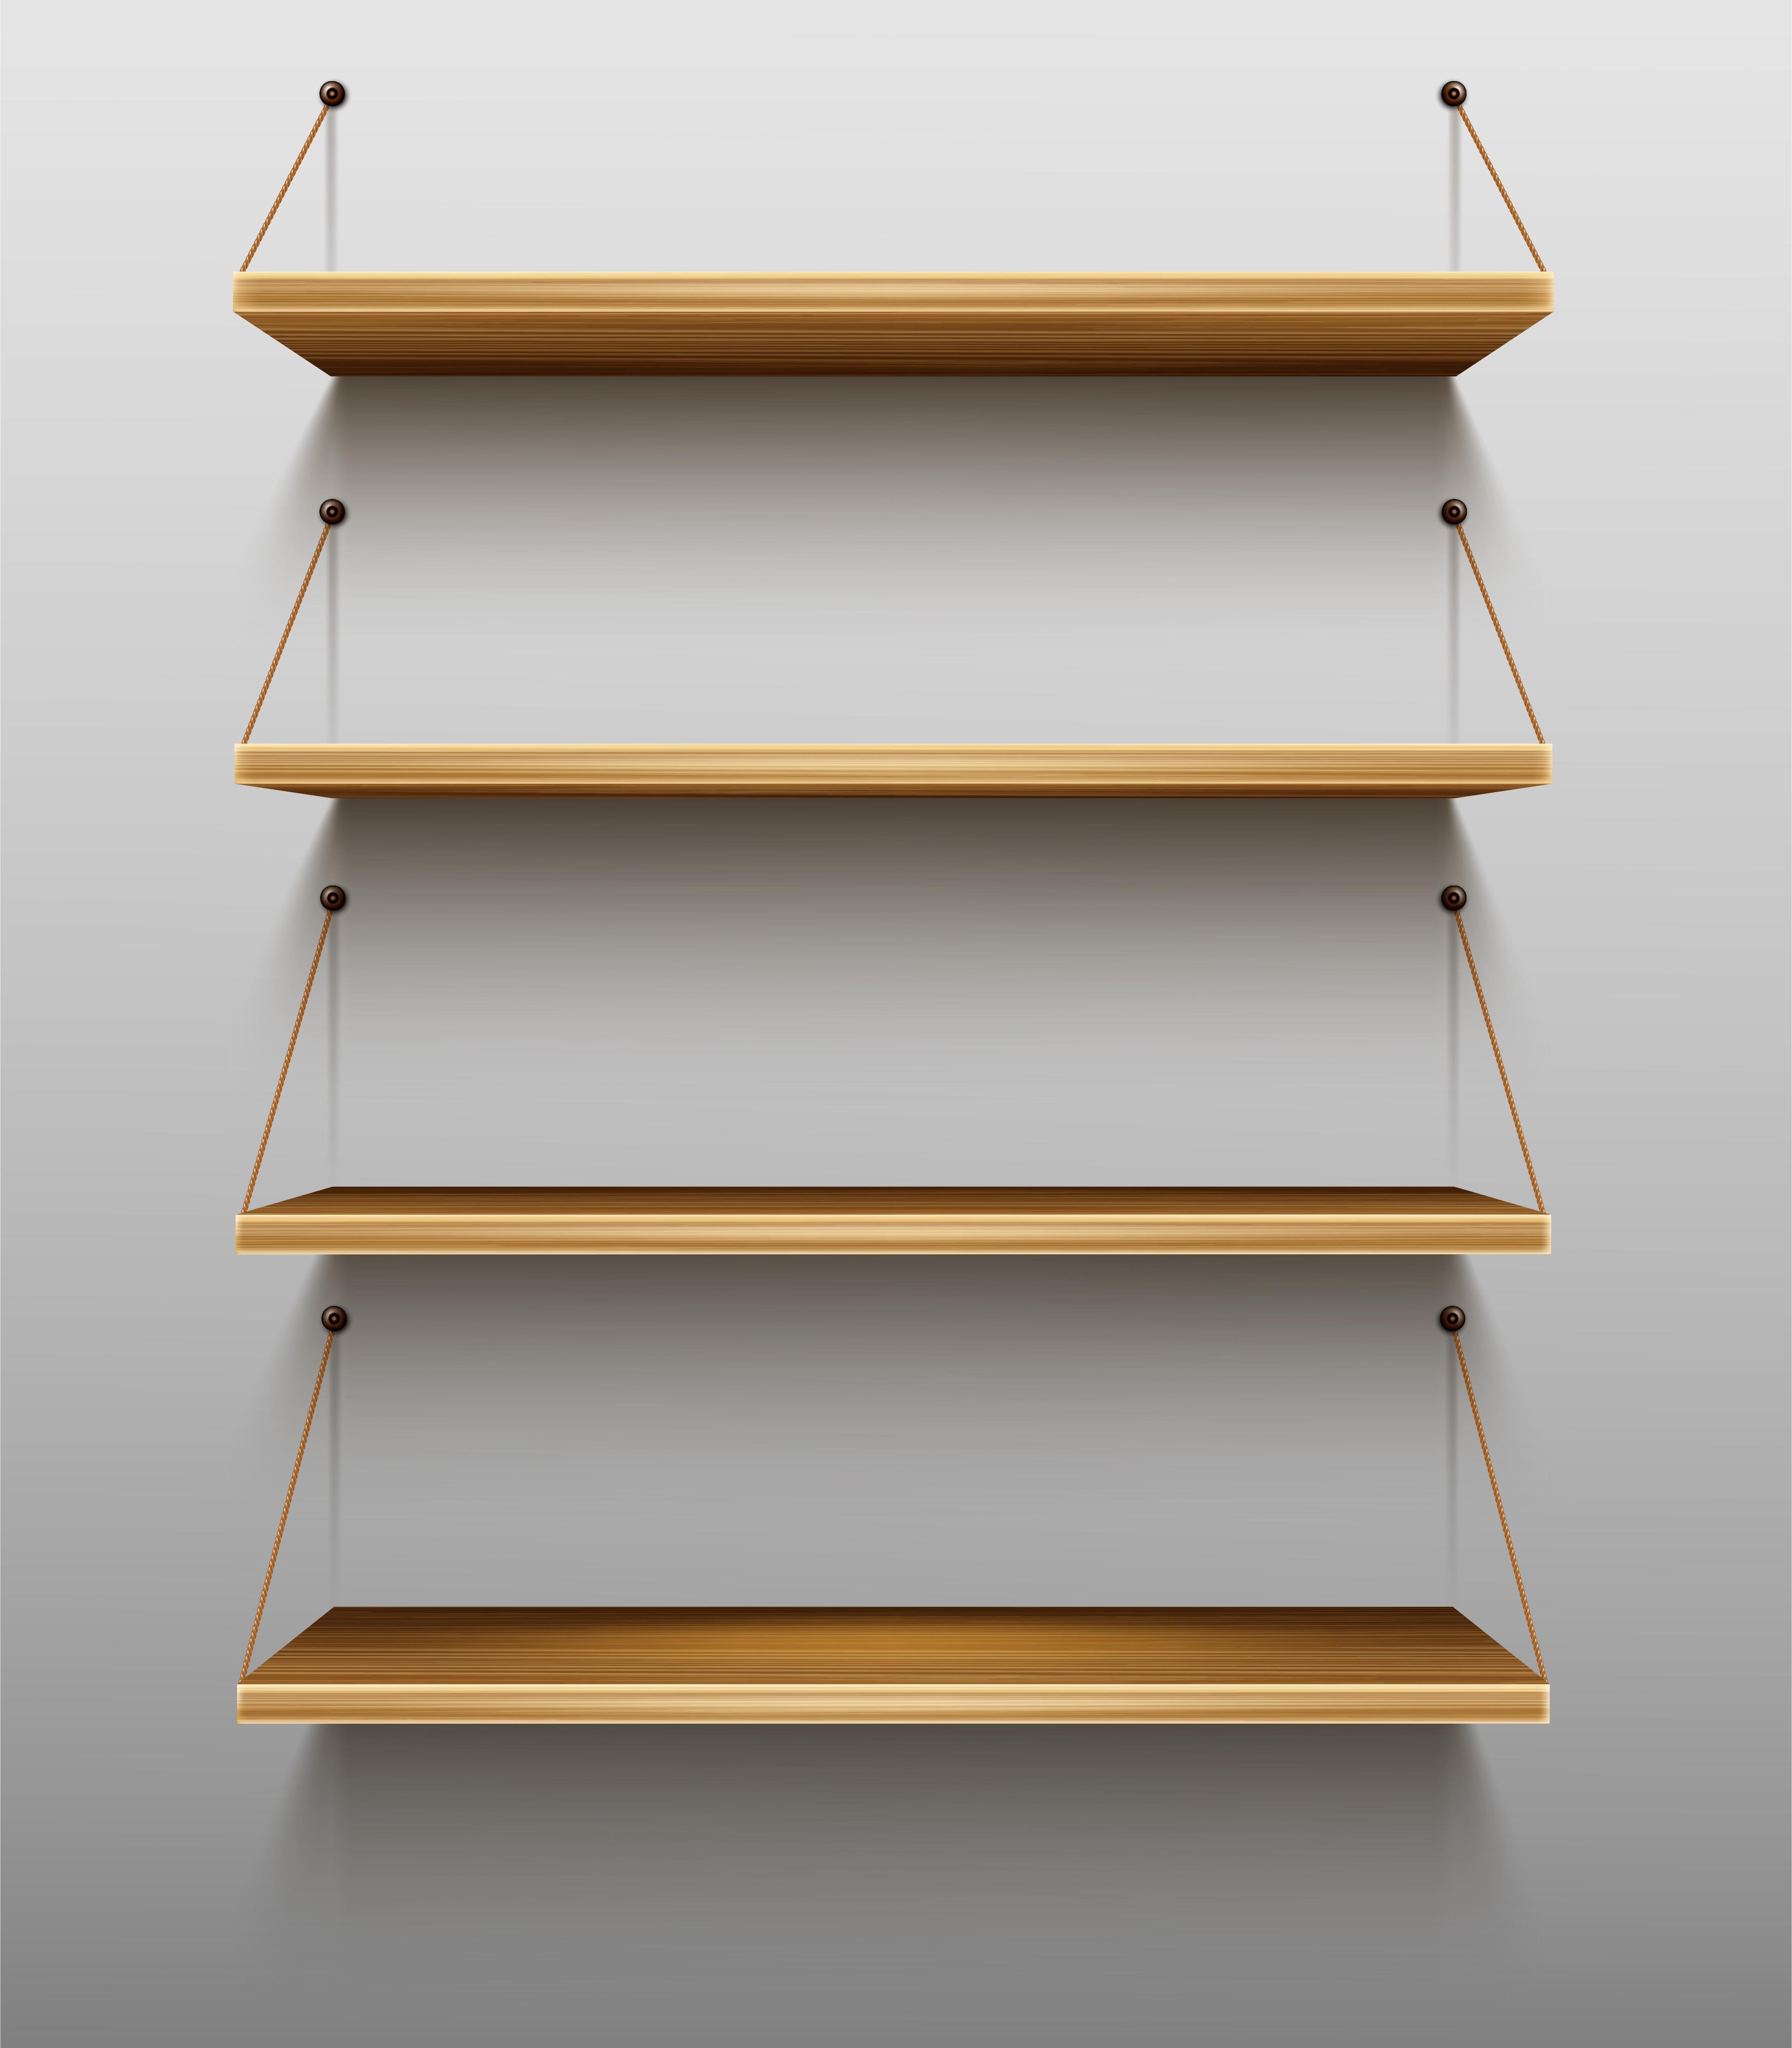
In a world where storage solutions are often uninspiring or come at a hefty price, DIY floating wood shelves emerge as a breath of fresh air. These seemingly gravity-defying structures not only add a touch of modernity to your surroundings but also serve as practical and space-saving storage options. The illusion lies in the seamless installation that conceals brackets and supports, leaving your shelves hanging gracefully, as if by magic.
Empirical Evidence: A Shift in Interior Trends
A surge in DIY culture and home improvement projects has brought floating wood shelves into the limelight. Statistics reveal a significant uptick in online searches for DIY shelving projects, with an increasing number of homeowners seeking ways to enhance their living spaces affordably. This trend is not merely a passing fancy; it's a reflection of the growing desire for personalized, cost-effective home decor solutions.
Insights: Navigating the DIY Maze
Embarking on a DIY floating wood shelves project may seem like entering a labyrinth, but fear not – we're here to guide you through the maze.
Choosing the Right Materials:
- Opt for sturdy and aesthetically pleasing wood.
- Consider finishes that complement your existing decor.
Structural Integrity:
- Ensure proper anchoring to wall studs for stability.
- Distribute weight evenly across the shelf.
Precision in Measurements:
- Measure twice, cut once – the golden rule of carpentry.
- Use a level to guarantee a straight and balanced installation.
Finishing Touches:
- Sand and stain for a polished appearance.
- Experiment with paint or varnish to match your style.
Real-World Application: A Case Study
Meet the Johnsons, a family of four living in a cozy suburban home. Faced with the challenge of organizing their limited living space, they opted for a DIY solution – floating wood shelves. The project not only provided additional storage for books and decorative items but also became a focal point, transforming a mundane wall into a captivating feature. The Johnsons' experience exemplifies the real-world impact of DIY floating wood shelves in elevating both form and function.
Metaphor: Crafting Your Symphony of Space
Think of your living space as a musical composition. Each element, like a well-played note, contributes to the harmony. DIY floating wood shelves act as the crescendo, rising above the mundane, creating a symphony of design and organization in your home.
In the next part, we'll delve deeper into the step-by-step process of creating these enchanting shelves and explore additional tips to ensure your DIY project is a resounding success. So, are you ready to orchestrate your own symphony of space? Stay tuned for the grand finale!
Crafting the Enchantment: Step-by-Step Guide to DIY Floating Wood Shelves
Now that we've set the stage for your home's transformation, let's dive into the nitty-gritty of creating your very own floating wood shelves. Picture this journey as an adventure, with each step bringing you closer to the enchanting shelves that will redefine your living space.
Step 1: Gather Your Tools and Materials
Prepare for your DIY odyssey by assembling the tools and materials required for the project. Your arsenal should include:
- Wood of your choice
- Stud finder
- Level
- Screws
- Drill
- Sandpaper
- Stain or paint
- Brackets (if not concealed)
Step 2: Measure Twice, Cut Once
The foundation of any successful DIY project lies in precise measurements. Measure the space where your shelves will reside, taking into account the length, width, and depth of each shelf. Double-check your measurements before making any cuts to ensure accuracy.
Step 3: Find Your Wall's Melody
Locate the studs in your wall using a stud finder. Securing your shelves to these studs ensures structural stability. Mark the stud locations with a pencil, creating a roadmap for your installation.
Step 4: Design the Choreography - Shelf Placement
Decide on the arrangement of your shelves. Will they dance in a straight line or follow a more dynamic pattern? Use a level to mark horizontal lines for each shelf, ensuring they align seamlessly.
Step 5: Anchoring the Rhythm - Install the Brackets or Concealed Supports
If you're opting for concealed supports, carefully follow the manufacturer's instructions for installation. If using brackets, attach them securely to the marked stud locations. Ensure the brackets are level and positioned for optimal weight distribution.
Step 6: The Dance of Assembly - Attaching the Shelves
Place your pre-cut shelves onto the installed brackets or concealed supports. Secure them in place using screws, making sure the shelves are level and well-balanced. This step brings your vision to life as the shelves gracefully take their place on the wall.
Step 7: Fine-Tuning the Harmony - Sanding and Finishing
Smooth out any rough edges with sandpaper, creating a polished and refined look. Apply your chosen stain or paint to match the overall aesthetic of your space, transforming the shelves into visual symphony contributors.
Step 8: The Grand Finale - Admire Your Masterpiece
Step back and revel in the accomplishment of transforming a blank wall into a captivating display. Your DIY floating wood shelves now stand as a testament to your creativity and craftsmanship, offering both practicality and elegance.
As we conclude this step-by-step guide, your space is now ready to unveil its newfound charm. In the next segment, we'll explore additional tips and creative variations to further elevate your DIY project. Prepare for the crescendo as we continue to compose the symphony of your home decor!
A Symphony Unveiled: Conclusion
Embarking on the journey of creating DIY floating wood shelves is not merely a home improvement project; it's an orchestration of space, a symphony where each shelf contributes a note to the harmony of your living environment. The illusion of these shelves defying gravity is not just a visual delight but a practical solution to optimize your space while adding a touch of modern elegance.
Through this exploration, we've traversed the world of DIY decor, delving into the rising trend of homeowners seeking personalized and cost-effective solutions. Real-world examples, like the Johnson family's experience, underscore the transformative power of these shelves in enhancing both form and function within a living space.
Our step-by-step guide, akin to a musical score, guided you through the crafting process – from choosing materials to fine-tuning the finishing touches. Each stage of this DIY project contributes to the overall symphony, turning your walls into a canvas of creativity.
As we reach the conclusion of this enchanting journey, you now hold the baton to orchestrate your own space. The melodies of creativity, craftsmanship, and functionality have converged, creating a lasting impact on your living environment.
But, dear maestro, the symphony doesn't end here. The world of DIY is vast, and your creativity knows no bounds. Consider this guide a prelude to an ongoing exploration of transforming your space into a masterpiece. So, with tools in hand and inspiration in heart, continue composing the symphony of your home decor – a melody that echoes with your unique style and personality. The stage is set, and the audience awaits the next movement in the symphony of your living space.